
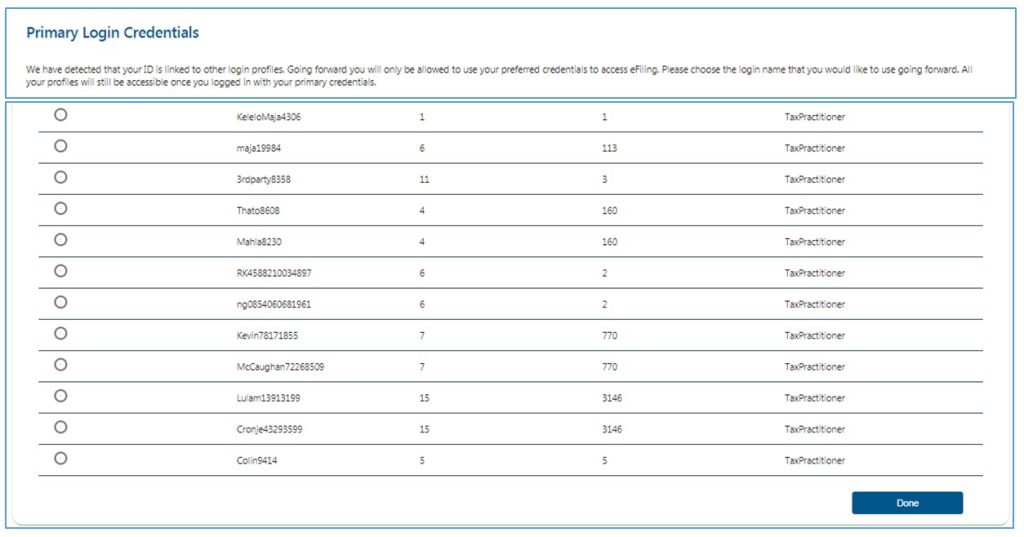
A Primary User is a default username that is selected by the user to access eFiling.

A registered eFiler can act in different “roles” on eFiling (e.g. tax administrator). These “roles” are referred to as Portfolio Types. For example:
- Individual – a person acting as himself/herself to administer his/her own individual taxes.
- Tax Practitioner – a person registered with SARS and a Recognised Controlling Body (RCB) and has a signed power of attorney to act on behalf of another taxpayer.
- Organisation – a representative of a tax paying entity acting either as the representative taxpayer (e.g. Public Officer, Executor of an estate, etc.) or an appointed representative with a signed Power of Attorney in place.
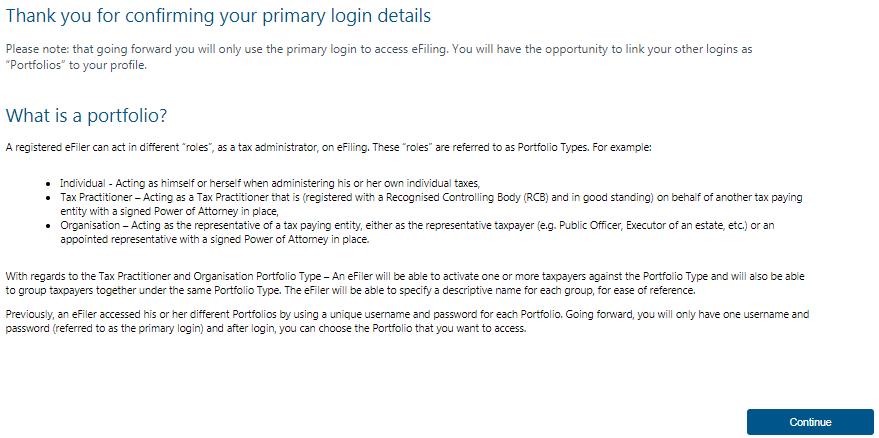

Please note that the same rights that were allocated to the portfolios by the administrator will still apply.
Follow these easy steps to add a portfolio to your eFiling profile.
From your eFiling landing page, go to your ‘Portfolio Management’ page by selecting ‘My Profile’ on the Portfolio Management sub menu.
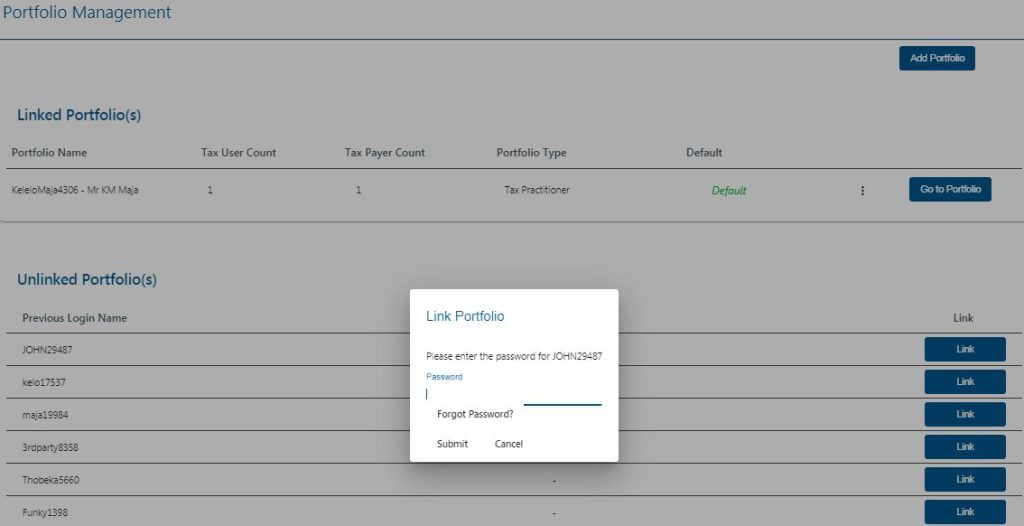
Click on ‘Add Portfolio’ on the top right hand side of your screen:
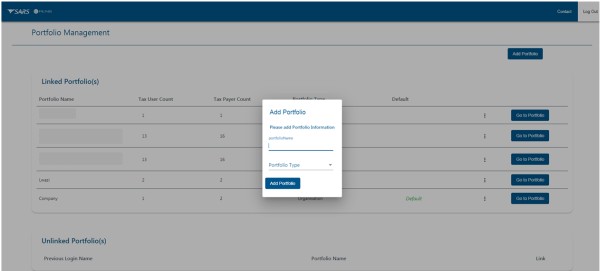
You will get a pop-up message where you must enter the Portfolio Name and select a Portfolio type from a dropdown menu.

Then click Add Portfolio.

message will indicate that your portfolio has been added successfully.

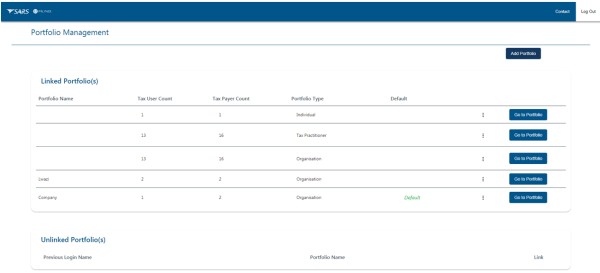
The added portfolio will be displayed under Linked Portfolios.

You are now able to add a client or clients to the portfolio that you have just added.
To add a new client, click the Go To Portfolio button associated with the new portfolio you have added.
Click Organisations, on the top of your screen.
Then Click Organisation on the left hand side of your screen.
Select the sub menu Register New to register your new client.
Complete all the fields, then click Continue.

Tick the group applicable to the taxpayer, then click Continue.

Check the information on the summary screen and click Continue.

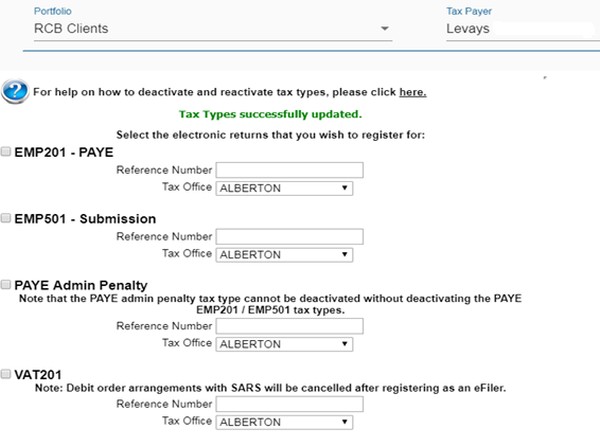
On the next screen, select the tax types you want to register for by ticking the appropriate box. Then add the tax reference number.

When you are done, click Register.
If you get a message to set up banking details, then first set up banking details by Clicking Change Details on the left hand side and completing the bank details section. You can then select your tax types. 
Go to Organisation and then select the sub menu, Change Details.
Update bank details.
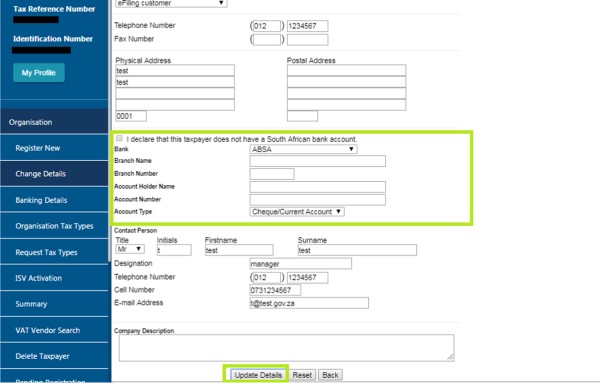
Click Update Details.
If you have followed all the steps correctly, you will get a message indicating that your tax types have been successfully updated.
You could get a message that your tax type is awaiting verification. In this case SARS will send you correspondence via eFiling to upload supporting documents.
The correspondence will give you a case number and a link to upload the supporting documents.
To view the SARS correspondence, go to Pending Registration under Organisation. Then click on Open to view the notice from SARS.
If your case has been approved by SARS, you will be able to continue transacting.
Go to My Profile and select the Portfolio Management sub menu.
Select the portfolio under which you wish to add users, by clicking on Go To Portfolio.
On the top of your screen, select User.
Then on the left hand side of your screen, select User again.
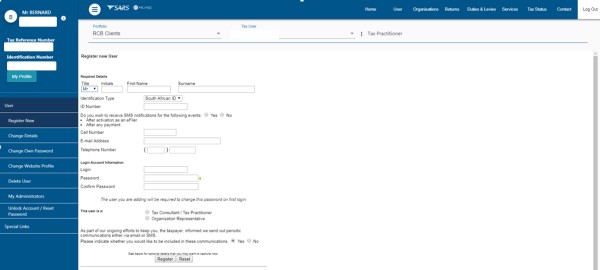
Then select Register New.
Complete all the fields and click Register.
If the user you are adding is already registered on eFiling, you will see this message:
Show message
In this case, click Register Again.
The next page displays roles you can assign to the user you have registered.
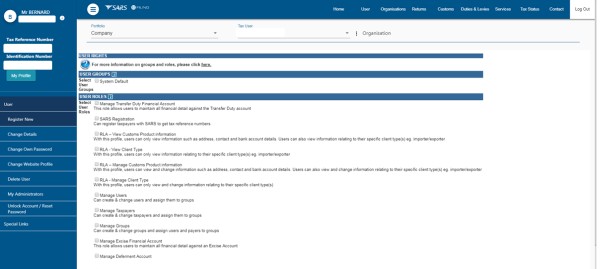
Tick the applicable roles and click Continue.
A User Summary will now be displayed.
You have now successfully added your new user.